Showing posts with label chiltepin. Show all posts

Tuesday, December 01, 2009

Mini PVC Greenhouse for my Chiltepin Plants


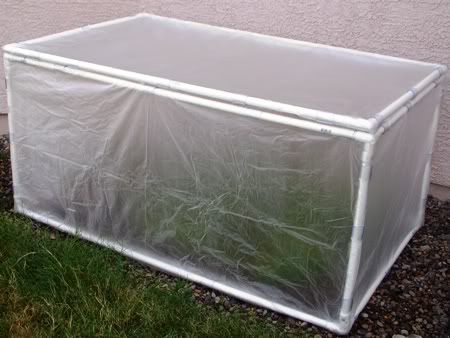
Last winter my chiltepin plants had a bit of a rough time - they all froze and only half of them came back in the spring. So this winter we thought we'd make them a mini greenhouse to help keep them from freezing again. It's made out of PVC pipes and old shower curtain liners, which are attached to the pipes with 2 inch lengths of vinyl tubing which have been split down one side*.
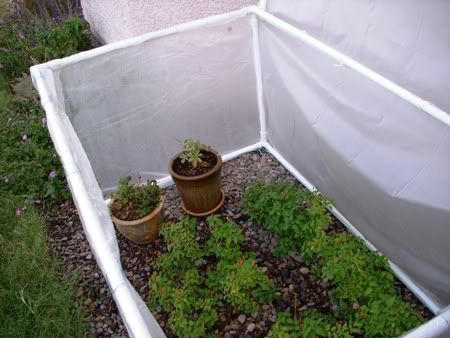


It has a hinged lid so we can get inside it and so we can leave it open during warm times. And since the shower curtain liners are translucent we can leave it shut if we go on vacation and the plants should still get enough light to survive (Christmas vacation is what did them in last year). Hopefully this will help my chiltepins make it through the winter!

* Update 12/4/09: The vinyl tubing does NOT work! Not in Arizona at least. Either the temperature change during the day or the strong wind pops the vinyl tubing off of the PVC pipes. For now we have replaced the vinyl tubing with duct tape (lots of it!) and we are looking into a product called Snap Clamps, which are made for holding plastic/fabric on to PVC pipes.

Related Posts: Quail Nest and Chiltepin Seeds, Chiltepin Plants Update 1, Chiltepin Plants Update 2

Thursday, March 05, 2009

Chiltepin Plants Update 2

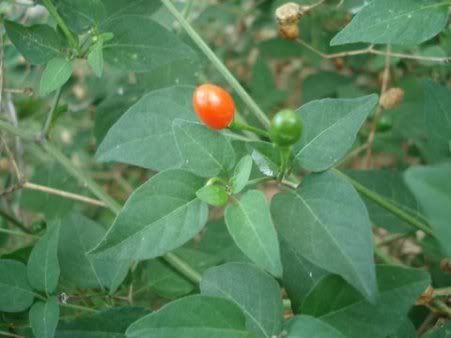
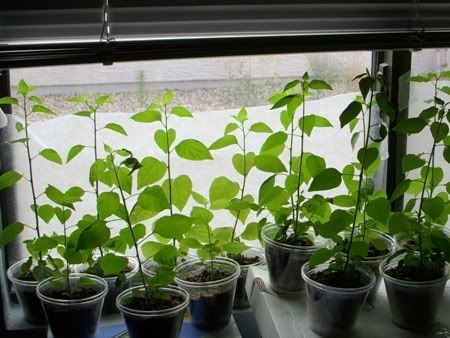
I've been trying to grow some chiltepin plants (a tiny pepper) from seeds taken from a plant that has been growing at my parent's home in Texas for more than 20 years. Unlike most pepper plants, their chiltepin stays alive during the winter so they don't have to re-plant it every year. My goal is to also get a chiltepin to survive year round here at my home in Arizona. I started growing my plants indoors last May and ended up with 31 seedlings (all the seeds were from one tiny pepper, I might add!).

Eventually they started to attract pests so in early fall I moved them outdoors. They grew much faster outside and were just beginning to develop peppers when it started to freeze. I worked hard to cover them up when it got too cold, but I had to leave for two weeks over Christmas and, well, they didn't make it. Since I had been working on them for 8 months I was pretty upset (I have to admit I cried a little). I couldn't bring myself to pull them up and throw them out so they've been sitting in my backyard for two months.

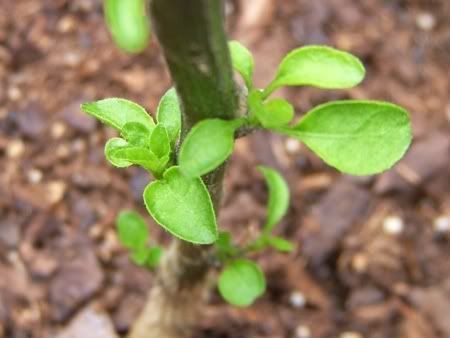
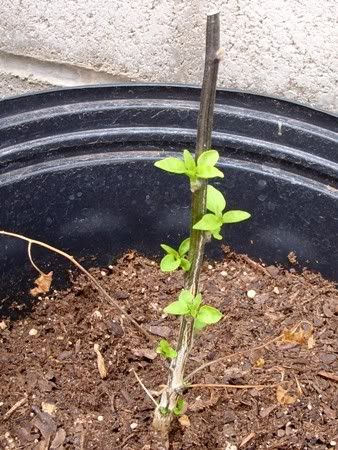
I was making plans to have my mom send me some more seeds when I happened to look at the plants and I was surprised to find that there were tiny green leaves shooting from the bases of many of my "dead" chiltepin plants!


I guess they were just hibernating! The chiltepin seeds can take a month or more to germinate so I was very happy that I didn't have to mess with trying to get them to sprout again. Since I had let them grow too tall while they were inside (they had to be held up by stakes) I decided now would be the best time to prune them a little. Even though they looked pretty dead it was still hard for me to cut them back. I left them all at about 6 inches.


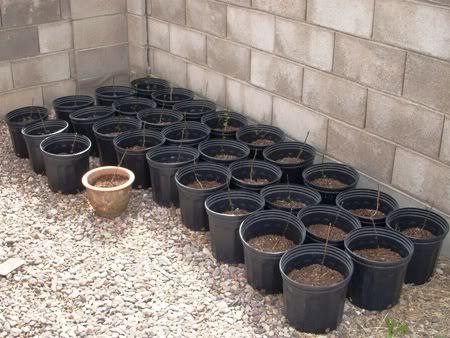
There are still about 1/3 of the chiltepin plants that don't have any new leaves, but the stems of all the plants were green on the inside when I trimmed them so I'm hoping that those will come back too. And as soon as the plants have recovered enough, I'm going to put them in the ground - no more messing around with plastic buckets! Hopefully they'll have enough time this year to make some peppers so I can try cooking with them.

My 31 chiltepin plants, still looking nearly dead

Related Posts: Quail Nest and Chiltepin Seeds, Chiltepin Plants Update 1

Monday, July 14, 2008

Chiltepin Plants Update


My chiltepin plants are doing surprisingly well! Out of the 32 I planted so far I've only lost one. Now some of them are outgrowing their tiny potting cups so I'm starting to replant them into large containers. Pots are expensive! I went to every garden center I could find to try to buy large containers that were less than $1 a piece but no luck. I was hoping someone would sell the cheap plastic pots that the nurseries use but I couldn't find them anywhere. I ended up having to order them online from GreenhouseMegaStore.com - they had a bundle of thirty 2.5 gallon containers for $17. Plus $15 shipping that ended up being $32, a little more than $1 a piece.
So far I've replanted eleven of the chili tepin plants in the 2.5 gallon containers today. Right now they're sitting inside my patio door - hopefully they'll get enough sun there. They probably would get more sun outside, but it's the monsoon season here in Arizona. So in addition to surviving the desert heat the plants would also have to make it through the strong winds and heavy rain of the monsoon storms. I think I'll try to keep them inside as long as I can so they can grow big and strong!

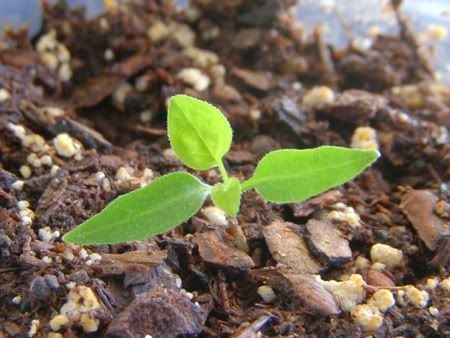
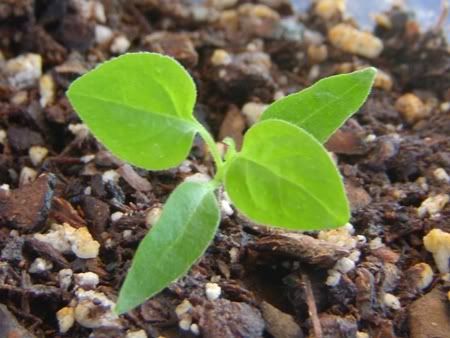
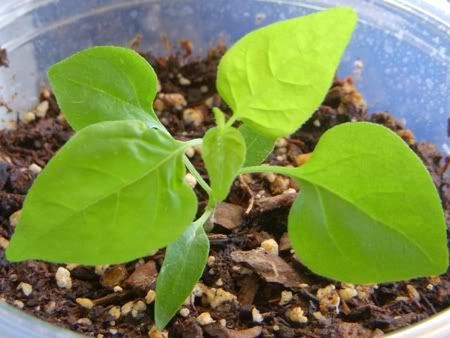
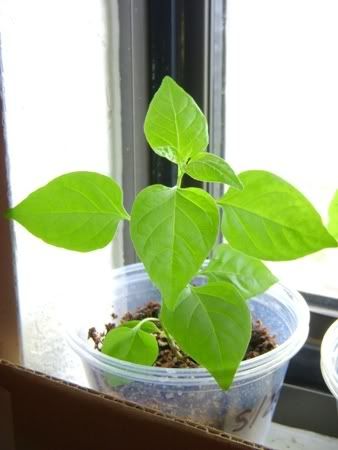
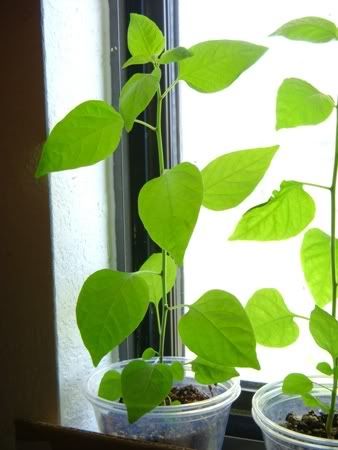
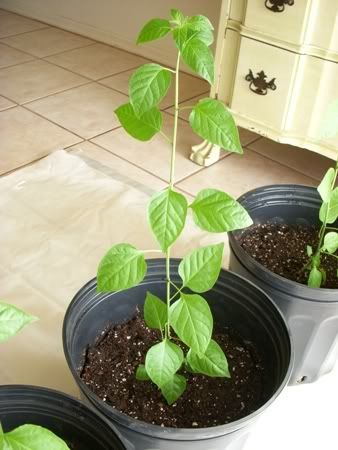
Here are some photos I took about once a week of one of the chiltepin plants to track it's growth:


May 31st


June 3rd


June 11th


June 21st


June 30th


July 9th (in the new big pot!)


Update 1/15/09: Unfortunately I had to leave my chiltepin plants outside while I was gone for two weeks over Christmas. We had several hard freezes (and one snow!) while I was away and since I wasn't able to cover them up, they didn't make it. I'm still watering them, hoping maybe they can be revived but it's probably a lost cause. :( I'll just have to start over once it gets warm.

Thursday, May 29, 2008

Quail Nest and Chiltepin Seedlings

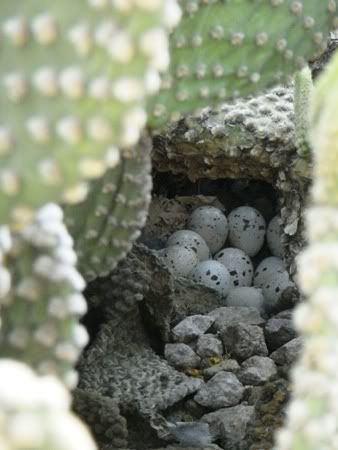
I was very excited to discover that quail have built a nest in the middle of a cactus in our yard!


They chose a good spot! It would be impossible for a cat or dog to get through cactus that encircles the nest. It took me a long time to get a good photo of the nest because the mother quail is usually sitting on the eggs and all you can see is a few feathers. I can't wait to see the chicks; hopefully she'll take good care of them and keep them out of the street!

I've been on the hunt for chiltepin plants (aka chili tepin). It's a chile plant that has tiny little peppers that are super-hot and can grow year-round in the right conditions. My parents have had one in their backyard for years and I thought it would be nice to have my own. I especially like that it can survive during the winter since I'm not too keen on having to re-plant vegetables every year!


The chiltepin plant is very similar to the chili pequin so initally I wasn't sure which one this was. The only difference I can see between the two is that the chiltepin peppers are round while the chili pequin peppers are elongated. Since the peppers on my parents' plant are round, I'm assuming that it's a chiltepin.

I stole a few peppers from my parents' plant a year ago and, after drying them out, spent a week attempting to sprout the seeds from one pepper but had no luck. I then tried to find the plant at a local nursery but no success there either. Finally I sat down, did some research and discovered that the seeds can take up to 12 weeks to sprout! I decided to try again since I hadn't given them enough time during my first sprouting attempt.

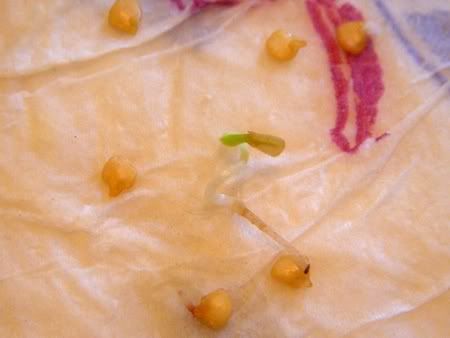
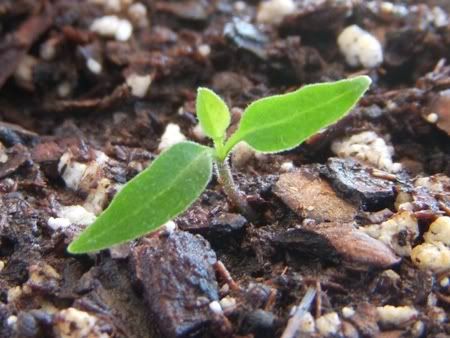
On April 30th I cut open one of the peppers and soaked the seeds in water overnight. On May 1st I put all the seeds (there were more than 30!) between two damp paper towels in a plastic container. I sprayed the paper towels daily with water to keep them moist. Nothing happened until May 20th - I got home from a short vacation and found that several of the seeds had sprouted!


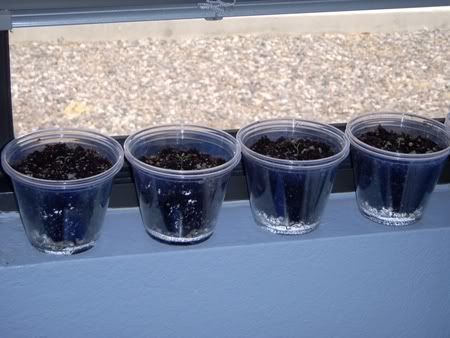
Once the seedlings were free of the seeds, I planted them in plastic cups. I used two cups for each seedling, one inner cup with holes punched in the bottom and an outer cup to catch any drained water. I put a thin layer of pebbles at the bottom of the cup and filled the rest with a 4 to 1 mixture of potting soil and perlite.


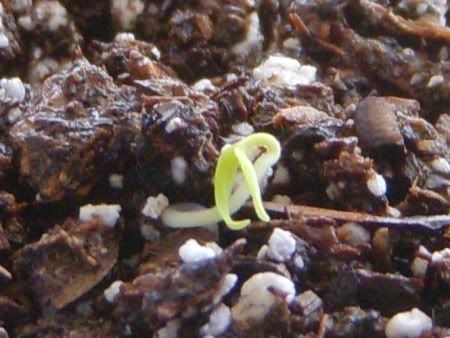
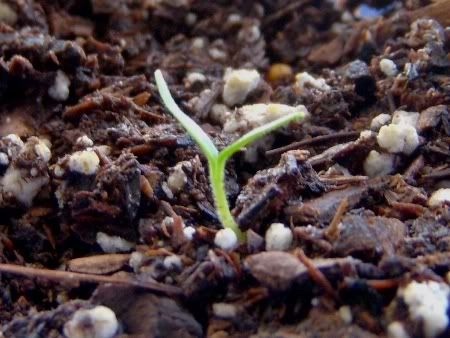
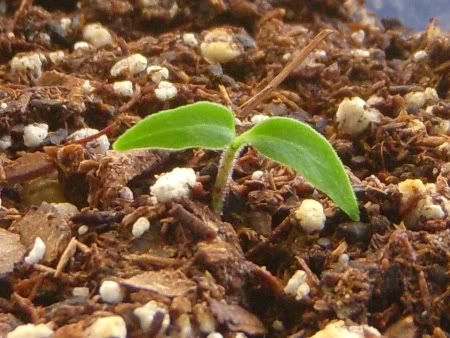
I've been planting 2-3 seedlings a day since May 20th and I now have 17! They seem to be pretty slow growers so I'm guessing they won't be big enough to have peppers until next year. Here are some photos I took of one of the first plants to show its progress:

May 20th:

May 21st:

May 23rd:

May 29th:
You can see more "growth" photos of my chiltepin plants here: Chiltepin Plants Update

Related Posts with Thumbnails