
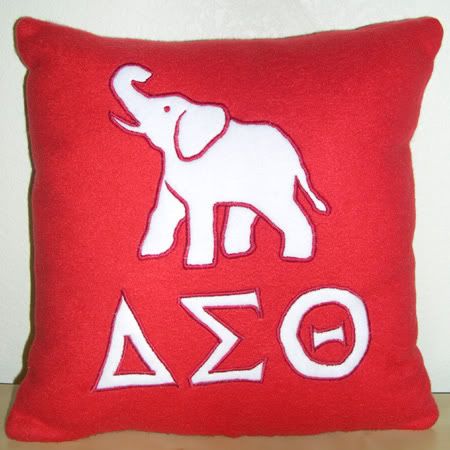
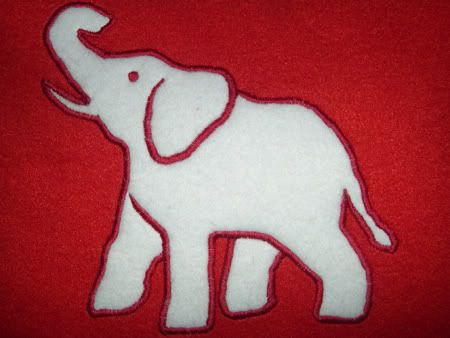
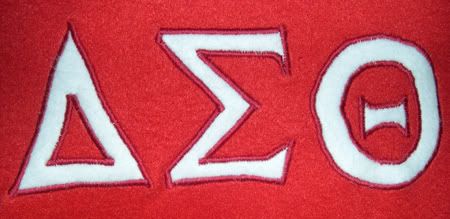
Happy New Year! Here's an applique pillow I made as a Christmas gift for a friend. She's recently joined a sorority (Delta Sigma Theta) and their unofficial symbol is an elephant. Since I'm just learning how to use my new sewing machine this project was probably a little over-ambitious (and I think it shows!). I did all right designing and cutting out the applique shapes but when it came time to sew them down with the satin stitch, things ended up getting a bit messy. Hence the wavy outlines and wobbly letters! Hopefully with more practice I'll get better at the stitching. Here's some close-ups:
Here's how I did the applique:
First I traced my design on to paper-backed transfer webbing. The final shape will be the opposite of what is drawn on the transfer webbing, so the image must be reversed. I forgot to do this while I was taking the photos so that elephant ended up being for practice!
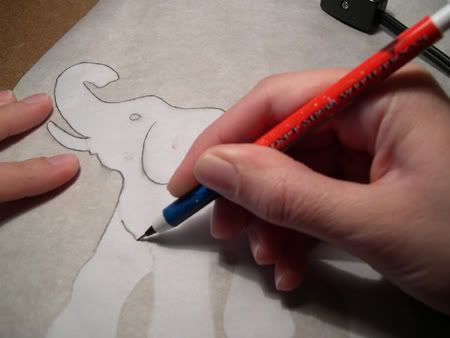
Next I trimmed the transfer webbing, leaving about an inch around the design. I ironed the sticky side of the transfer webbing to the wrong side of the white fleece.
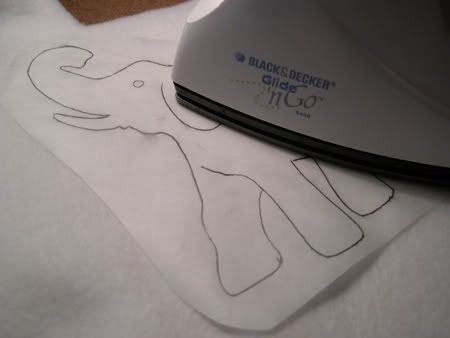
Then I trimmed the fleece to the edge of the transfer webbing. Next I put the design in my sewing machine, paper side up, and sewed along the outline of the design:
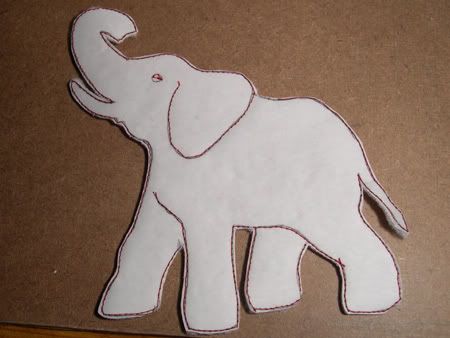
This transferred the design to the right side of the fleece:
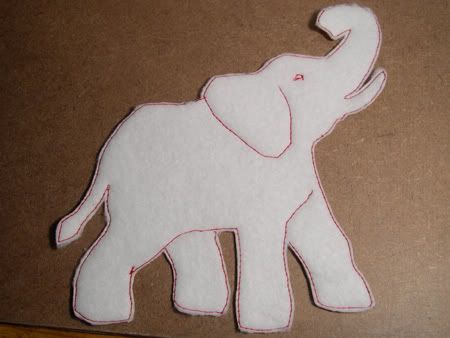
Next I removed the paper from inside the outline on the back of the applique, leaving the transfer webbing. Then I trimmed as close to the outline as possible (without cutting the thread in the outline). Note: On my first try, I trimmed close to the outline and then removed the paper. This did not work so well since the thread was less secure and tended to rip out when I pulled on the paper. So it's better to remove the paper first, then trim.
I then placed the applique piece on the background, covered it with a damp towel, and ironed it into place.
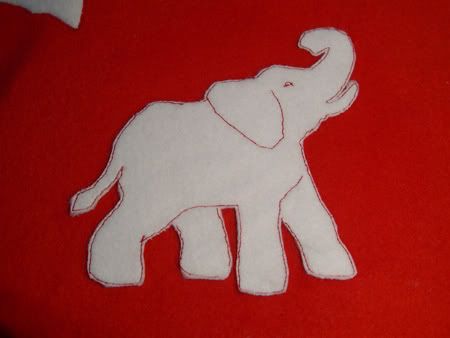
Last I went over the outline stitch with the satin stitch. It was a lot harder than I thought it would be because of all the tight turns in the elephant. I did two practice elephants before I did the final one and I still made quite a few mistakes!







 Posts
Posts


