Showing posts with label Christmas. Show all posts

Tuesday, December 06, 2011

Free Christmas Craft Instructions 2011

I thought I'd do a quick post reviewing the Christmas craft instructions and patterns from The Crafty Cattery. If you're looking for gifts to make for yourself or someone else, consider these!

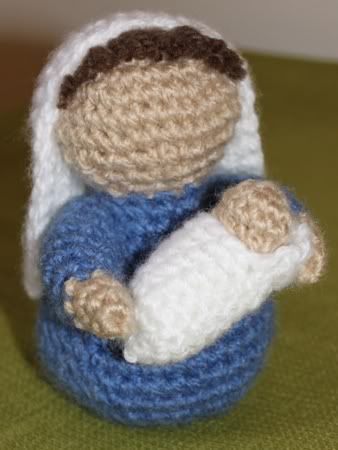
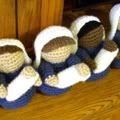
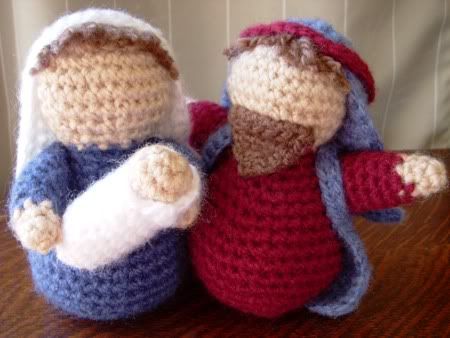
Amigurumi Nativity Crochet Pattern. So far it's just Mary and baby Jesus and Joseph but I plan to release a new pattern each year for another figure in the Nativity.

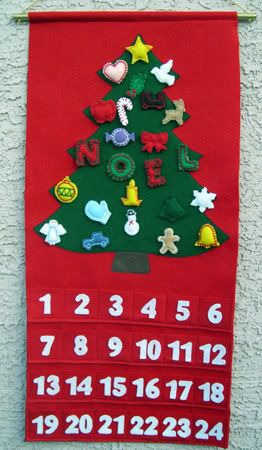
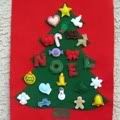
Felt Advent Calendar. Includes instructions for making the calendar and ornaments. No patterns for the ornaments, unfortunately. You're on your own with those!

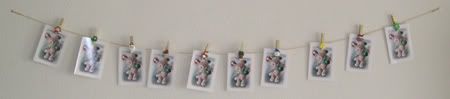
Christmas Card Holder. Instructions for making a very simple string and clothespin card holder.

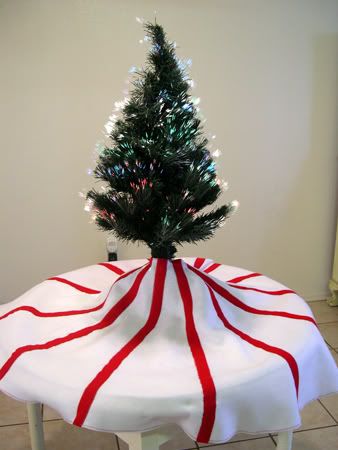
Peppermint Felt Tree Skirt. Instructions for making a simple tree skirt.

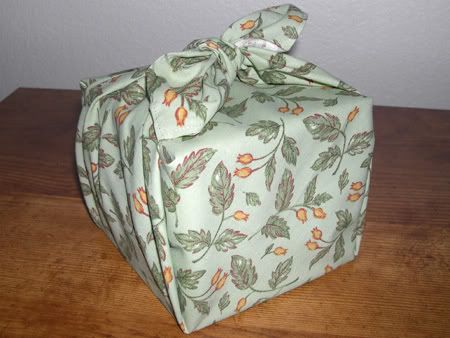
Instructions for furoshiki, the Japanese art of wrapping gifts in cloth. Great for reducing wrapping paper waste.

Not really Christmas themed but these still make good gifts:

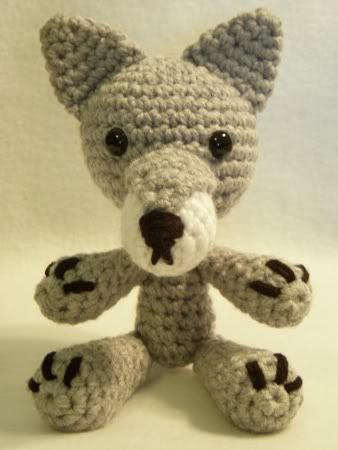
Big Bad Wolf Amigurumi Pattern. Crochet a little friend for the wolf lover in your life!

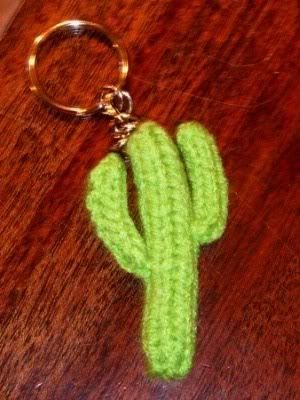
For, um... that person who always wanted a knitted saguaro cactus keychain?

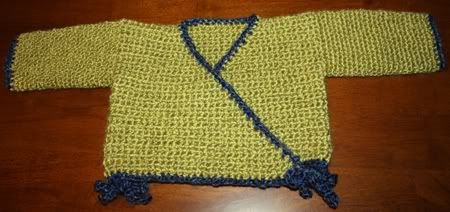
 Instructions for a crocheted kimono-style baby sweater.
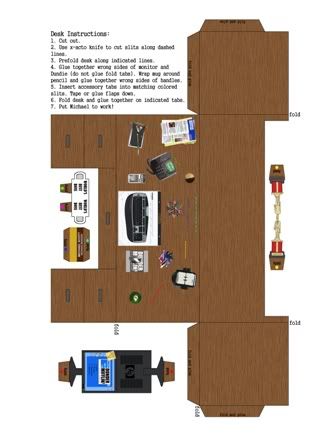
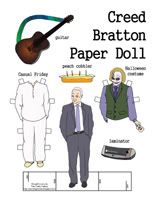
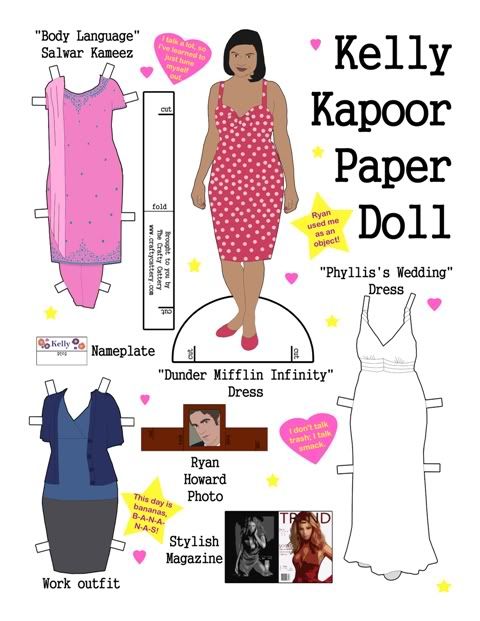
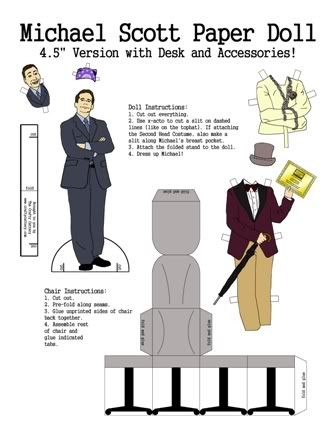
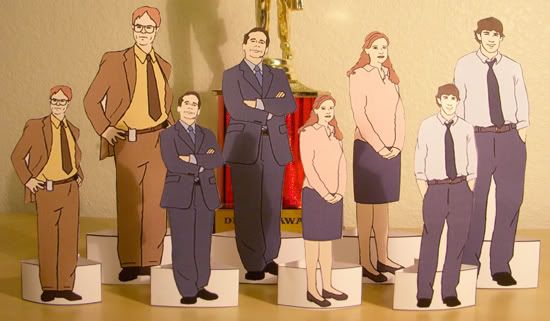
Printable Office paper dolls. Free PDF paper dolls of Michael Scott with desk, Dwight, Pam, Jim, Kelly and Creed. Make great stocking stuffers!

Tuesday, December 07, 2010

Free Christmas Craft Instructions

I thought I'd do a quick post reviewing the Christmas craft instructions and patterns from The Crafty Cattery. If you're looking for gifts to make for yourself or someone else, consider these!

Amigurumi Nativity Crochet Pattern. So far it's just Mary and baby Jesus but I plan to release a new pattern each year for another figure in the Nativity.

Felt Advent Calendar. Includes instructions for making the calendar and ornaments. No patterns for the ornaments, unfortunately. You're on your own with those!

Christmas Card Holder. Instructions for making a very simple string and clothespin card holder.

Peppermint Felt Tree Skirt. Instructions for making a simple tree skirt.


Not really Christmas themed but these still make good gifts:

Big Bad Wolf Amigurumi Pattern. Crochet a little friend for the wolf lover in your life!

Printable Office paper dolls. Free PDF paper dolls of Dwight, Michael, Pam, Jim and Creed. Make great stocking stuffers!

Sunday, December 23, 2007

Merry Christmas!


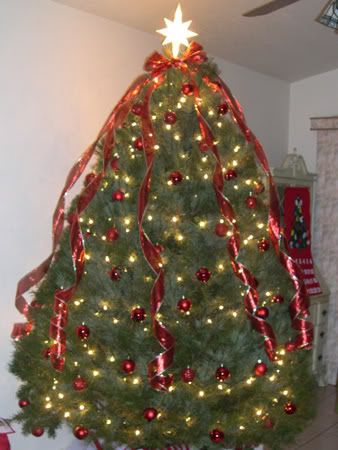
Just a quick post to wish everyone a Merry Christmas! It took 30+ shots, but we finally managed to take an acceptable photo of our first real Christmas tree. We haven't collected many interesting ornaments yet so we just bought a lot of balls (not very exciting, but they do the job!).

I've been working on my first major project with my new sewing machine and I think I've bitten off more than I can chew! I can't say more than that right now since it's a gift for a friend but, assuming I'm able to finish it (and I'm not too embarrassed by the finished product!), it will probably be my first post of the new year!

Non-crafty website of the day: The Flick Filosopher. This is the website of MaryAnn Johanson, a film critic from New York City. I'm always on the lookout for critics who share my taste in movies, and when I read her review of Master and Commander I knew she had excellent judgement! We only seem to differ when it comes to Judd Apatow films - she hates them, I like them.

Thursday, December 13, 2007

Furoshiki - Japanese Cloth Gift Wrap


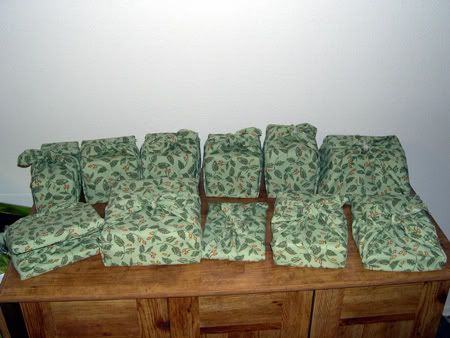
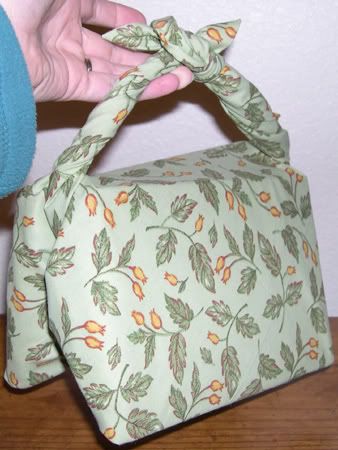
Prompted by an article in Shojo Beat magazine, I decided to use furoshiki to wrap gifts to my family this Christmas. Furoshiki, originally from Japan, are reusable cloth squares of various sizes that are used to wrap objects.
To make my furoshiki I used an inexpensive cotton fabric in a pattern that was not too Christmas-y, so they could be used again for other holidays or birthdays. I started out sewing them using instructions from a blog called Mommy Cooks. But hemming so many squares was taking forever (fold, press, fold, press, unfold, clip, fold, press, sew!) so I switched to sewing a straight stitch near the edge of the square and clipping close to it. Not as neat, but much faster!
I have also discovered that bandanas/handkerchiefs make good furoshiki for smaller items, though they can be a bit more expensive than making your own. You can find them at craft stores or even Wal-mart, which usually puts out Christmas-themed bandanas before the holidays in the purse section. At Wal-mart they're normally $1.00, but because they're not kept with the rest of the Christmas items in the store they often go unnoticed and there are usually a lot left by the time they have their 75% off after Christmas sales. I can pick up whatever they have left for $0.25 each.
To fold and tie the furoshiki, I followed an instructional sheet (in English) from the Japanese Ministry of the Environment. I then made an easier-to-print version of the instructional sheet (the original is white text on a green background) and included a copy when I mailed my gifts, so the recipients would be able to reuse the furoshiki.
As you can see from the instructional sheet I used the Otsukai Tsutsumi (basic carry wrap) for most of the gifts, but I was able to do the cool-looking Hon Tsutsumi (two books carry wrap) for one gift!

Monday, December 10, 2007

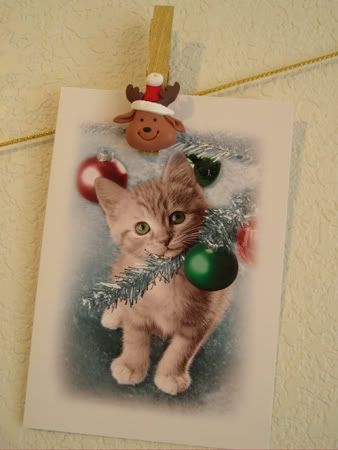
Quick Hanging Christmas Card Holder


I made this hanging Christmas card holder Friday afternoon - mostly on my back patio, as you can tell from some of the photos in the instructions!

Project Name: Quick Hanging Christmas Card Holder
Time Taken to Finish: 1 hour
Materials Used: 10 clothespins, 6-7 feet of decorative gold cord, gold spray paint, 10 miniature ornaments
Special Tools Used: hot glue gun
What I Liked About the Project: Super fast!
What I Didn't Like About the Project: If I did it again I might use red or green spray paint (or both!). The gold doesn't stand out as much as I would've liked - it almost looks like I didn't paint them at all.

Instructions:

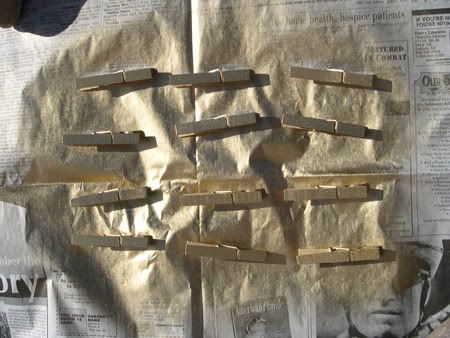
1. Spray paint the clothespins.


I wanted 10 pins for my card holder, so I sprayed 12 pins (in case I messed up). Feel free to make more if you want a longer card holder. Be sure to paint all sides of the pins and let them dry thoroughly.

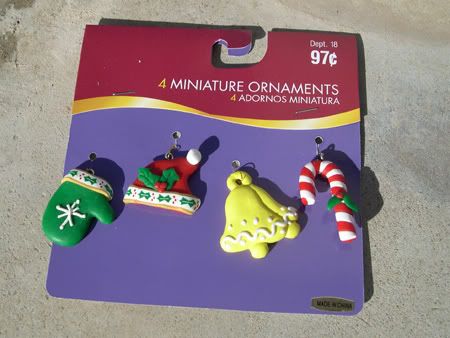
2. Use the hot glue gun to attach the miniature ornaments to the clothespins.


The ornaments I used

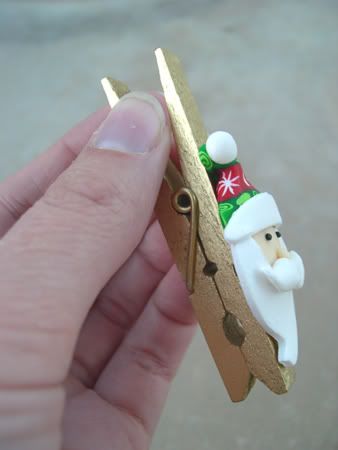
They look like they're made of Sculpey. If you can't find miniature ornaments you could also use fake holly or other small Christmas decorations. After removing the hangers from the ornaments, run a bead of hot glue down the back of the ornament and then place it on the clothespin (the mouth of the pin should be facing down). Once it is in place, press the ornament to the clothespin firmly and hold until it has cooled.


Ornament glued to the clothespin


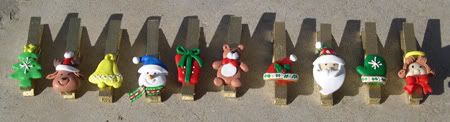
All the completed clothespins

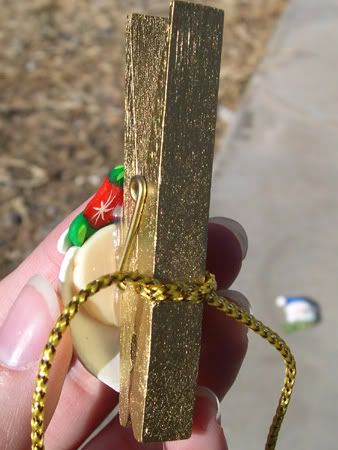
3. Tie the clothespins to the cord, about 6-7 inches apart. You don't have to tie them on, but if you're using a thin cord like I did they may slide around. If you do tie them on, make sure that the decorated sides of the clothespins are all facing the same way.


Clothespin tied to cord

4. Finally, tie a loop at each end of the cord and use thumb tacks or nails to hang your Christmas card holder from the wall!

Thursday, December 06, 2007

Peppermint Felt Christmas Tree Skirt


Here's a very basic Christmas tree skirt I finished today, along with my poor lumpy fiber optic tree. I was going for a peppermint-stripe effect!

Project Name: Peppermint Christmas Tree Skirt
Time Taken to Finish: 3 days
Materials Used: at least 2 yards of white felt, less than 1 yard of red felt, white thread, read thread
Special Tools Used: sewing machine
What I Liked About the Project: The sewing went really fast with my new machine.
What I Didn't Like About the Project: Arranging the stripes on the skirt - it took forever to get them spaced correctly.

Instructions:

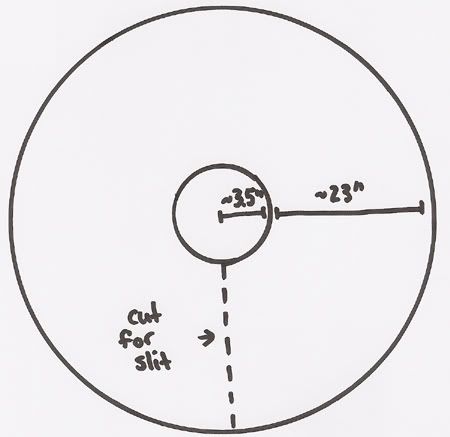
1. Cut a large circle out of the white felt (as big as possible). To do this, I followed steps 1 and 2 of these tree skirt instructions on Howstuffworks.com. I would recommend practicing the circle-cutting technique on some paper or scrap material first, until you are sure you can do it correctly. The first few times I tried it on a piece of paper I messed up badly. Once I ended up with two half circles and another time I ended up with two identical smaller circles! Once you have cut out the large circle, keep it folded for the next step.

2. With the large circle still folded, use the same technique from the step above to mark and cut out a circle with 3.5 inch radius in the center of the large circle. This will be where the trunk of the tree goes.

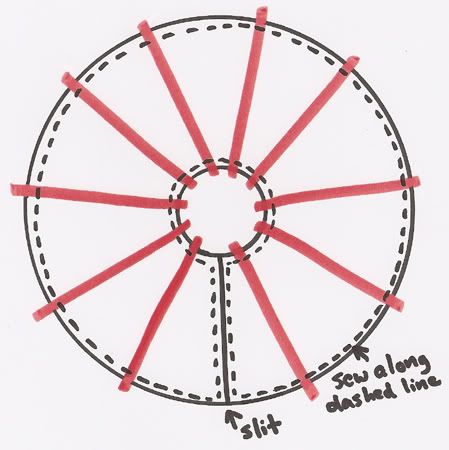
3. Use a ruler to mark a straight line connecting the outer edge of the skirt to the hole in the middle. Cut along this line to make a slit so the skirt can be opened up. Now you have a basic solid-color tree skirt (note that none of my diagrams are to scale):


4. Cut out inch-wide stripes from the red felt. They need to be long enough to go from the outer edge to the hole in the middle, with a couple of extra inches so you have some room to work with. In my skirt this distance was about 23 inches so I made my stripes about 26 inches long. Since the yardstick I have is about an inch wide, I just lined up one side of it with an edge of the felt and then cut down the other side. Cut out as many stripes as you'd like - I made 15.

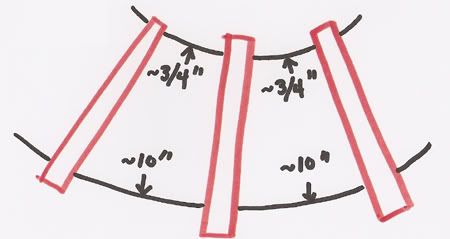
5. Pin the stripes on the skirt. For me this was the hardest part! It took a long time to space them evenly. They are spaced about .75 inches (3/4 of an inch) apart at the top and about 10 inches apart at the bottom. Pin the stripe to the skirt, making sure that you have an inch or so of stripe overhanging the skirt at both the top and bottom.


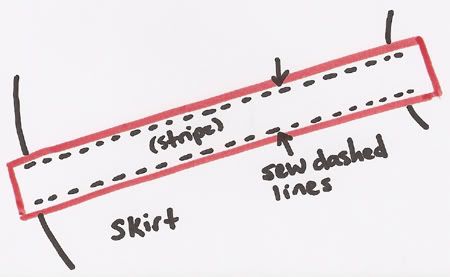
6. Sew down the sides of each stripe, but do not sew across the top and bottom yet. I used white thread to sew a zig-zag on each side of the stripe. Trim your threads (but not the excess red felt yet!).


7. After all the stripes are sewn down, use red thread to sew around the entire inner and outer edges of the skirt (see diagram). Again, I did a zig-zag stitch. This will give the skirt a decorative edge as well as sewing down the tops and bottoms of the stripes. Trim your threads, then trim the excess red felt so that the edges are even with the edges of the skirt. You're done!

Thursday, November 15, 2007

Advent Calendar Part 2 - Ornament Instructions

Note: This is the second of three posts about how I made my felt Advent calendar. For information on how I came up with the idea see Part 1; for instructions on how to make the calendar itself see Part 3.

I finally finished all 24 ornaments for the Advent calendar!


Actually, since I'm making 3 identical calendars it was a total of 72 ornaments!


Supplies for the ornaments:
- sheets of felt (various colors)
- embroidery floss (various colors)
- sew-on Velcro (the fuzzy size)
- batting
- white thread


Tools for the ornaments:
- sewing machine (to attach Velcro to ornament - this could be done by hand)
- large embroidery needle
- scissors


Here's how I made the ornaments:


1. I first came up with a pattern for each ornament. They had to be smaller than 2 inches square so they would fit into the pockets on the calendar. For the easier shapes, such as the heart or the letters, I drew the pattern myself. For the harder shapes, I used Google image search to find a picture of a stencil or cookie cutter in the shape I needed. I downloaded the image and re-sized it so that it was smaller than 2 inches square. I then printed and cut out it out to use as a pattern.


2. I pinned the pattern to two stacked sheets of felt. I then cut out the pattern on both sheets at the same time, creating one front and one back of the ornament.


3. Using my sewing machine, I attached a square of Velcro (the fuzzy side) to the back side of the ornament. I saved the "prickly" side of the Velcro in a ziploc since I would need it later for the tree.


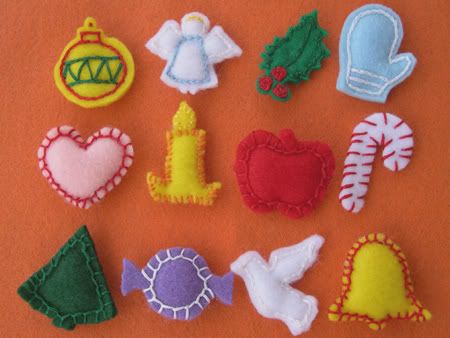
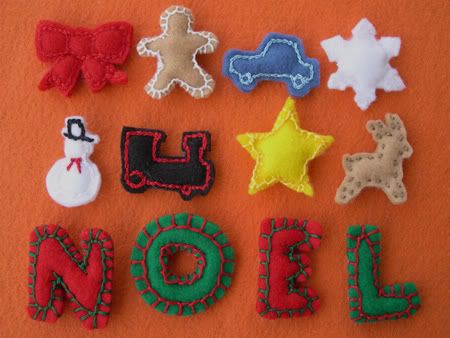
4. Next I used embroidery floss to sew the front and back of the ornament together (right sides out). Before I completely sewed it shut, I stuffed a small amount of batting into it. As you can see from the photos I used several different stitches. Since I don't know much about stitches, I just experimented until I found ones that looked good. The blanket stitch (see "NOEL" letters) worked fine for simple shapes. On more complex shapes I used a running stitch (see the reindeer) or a split stitch (best seen on the car or the mitten).


Next I'll be working on the calendar itself. I'm guessing the hardest part will be making the felt numbers for the 24 days. By my calculations that will be 117 individual numerals to cut out!

Update 11/18/07: I finished the entire calendar! For photos and instructions, please see Advent Calendar Part 3 - Complete Instructions.

Thursday, November 08, 2007

Advent Calendar Part 1 - The Plan

Note: This is the first of three posts about how I made my felt Advent calendar. For information on how I made the ornaments see Part 2; for instructions on how to make the calendar itself see Part 3.

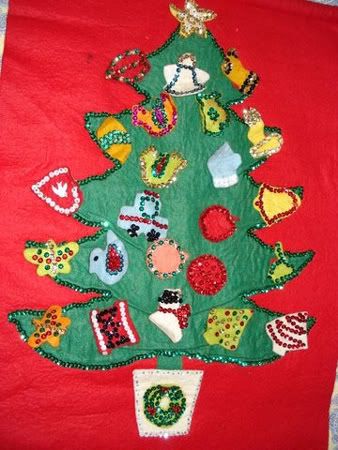
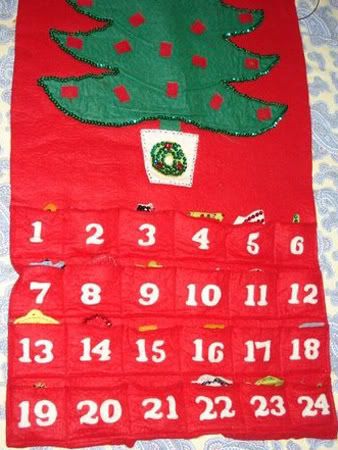
The project I'm currently working on is an Advent calendar (a calendar that counts down the days until Christmas). I'm using my family's Advent calendar as a guide - it was made for us by my paternal grandmother many years ago.


The original Advent calendar (showing the ornaments)


The original Advent calendar (showing the pockets)


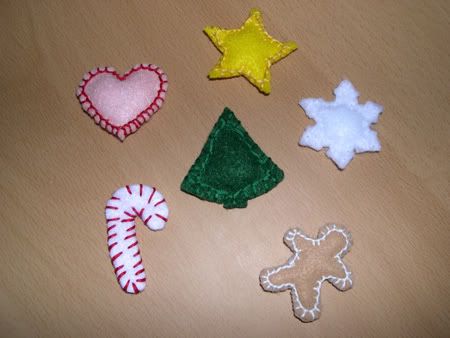
Unfortunately, due to the lack of crafting resources in my area, I'm having to deviate from the original quite a bit. The only sequins I could find in town were white and purple, so I'm having to go without. I was also unable to find red felt by the yard so I'm going to have a white felt background instead. Since the ornaments were my biggest problem I've started on them first. Here are a few of the better ones:


Hopefully they're all recognizable! If not, here they are clockwise from the bottom right: gingerbread man, candy cane, heart, star, snowflake and Christmas tree (in the center). They are made of two pieces of felt, stuffed with batting and with Velcro on the back. I used embroidery floss to sew the pieces together.


The sewing is pretty easy. The hard part is coming up with 24 different recognizable ornaments. Since I'm no good at embroidering details on them (I've tried, but it looks awful!), they have to be identifiable by their shape alone. I'm using the ornaments on the original Advent calendar as inspiration, but some of them would lose their meaning without the details sew on.


So far the other ornaments I have planned are: bell, candle, apple, piece of candy, car, train, ornament (you know, the old fashioned glass ones that are shaped like a turnip), and the letters in NOEL. That brings me to 17, so if anyone has suggestions for other ornaments, I'd love to hear them!

Update 11/15/07: I've finished all the ornaments! For photos and instructions, please see Advent Calendar Part 2 - Ornament Instructions.

Update 11/18/07: I've completed the entire calendar! For photos and instructions, please see Advent Calendar Part 3 - Complete Instructions.

Related Posts with Thumbnails