Wednesday, February 01, 2012

Amigurumi Nativity: Crocheted Angel Pattern


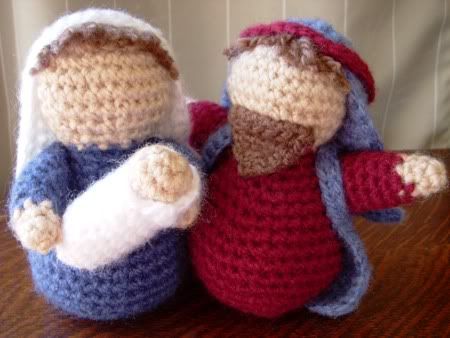
Here are the previous nativity patterns: Mary and baby Jesus, Joseph.

Angel Amigurumi Pattern

Notes on this pattern:
  • My patterns are free and may not be sold. Please do not reproduce or repost patterns or instructions from CraftyCattery.com without my permission. For information on selling items created from my patterns, please view the FAQ.
  • Most of this pattern is continuous crochet and there are a few color changes. The wings are crocheted flat.
  • I like to make all the accessories first so they are ready to be sewed on when I make the body. That's why they're listed first in the pattern.
  • The finished size of the figure is 5 inches.
Materials needed:
  • Bulky weight yarn in a flesh color, white (for body and wings) and brown (for hair). I used Lion Brand Jiffy. Optional: you can also a fluffy or feathery white yarn for the wings.
  • Optional: gold embroidery floss (for decoration on sleeves)
  • Wired gold cord or floral wire and unwired gold cord (for the halo)
  • Thread that matches the hair color
  • Size H (5.00 mm) crochet hook
  • Yarn needle
  • Stuffing
  • Optional: Bean bag plastic pellets. Putting some of these in the bottom of the Joseph figure can help it balance better. Make sure the pellets are large enough that they won't work their way through the crochet stitches. Pellets are not recommended if small children may have access to the figure.
Abbreviations used in this pattern:
  • Rnd = round, when doing continuous crochet
  • Row = row, when doing flat crochet
  • sc = single crochet
  • st = stitch
  • sts = stitches
  • ch = chain
  • slp st = slip stitch
  • sc2tog = single crochet two stitches together, aka a decrease. (I recommend using falwyn's invisible decrease.) sc3tog = single crochet three stitches together.
The pattern:

Angel's Hair
Use spiral crochet with the brown (hair color) yarn to make the wig cap:
Rnd 1: 6 sc in magic ring (6 sts).
Rnd 2: 2 sc in each st around (12 sts).
Rnd 3: [2 sc in next st, sc 1] six times (18 sts).
Rnd 4: [2 sc in next st, sc 2] six times (24 sts).
Rnd 5: [2 sc in next st, sc 3] six times (30 sts).
Go to my amigurumi wig instruction page and follow Steps 2-5 to add hair to the wig cap.

Angel's Wings 


Make two. Crocheted flat using white yarn (the same yarn as the body or the optional fluffy/feathery yarn). Leave a long tail at the start to use to sew the wing to the body.
Row 1: ch 9. sc in second chain from hook. sc in each chain 7 more times (for a total of 8 sts).
Row 2: ch 2. sc in second chain from hook. sc 7 (for a total of 8 sts). ch 1 and turn.
Row 3: sc 5. slp st 1 and turn.
Row 4: *sc 4. ch 1 and turn.
Row 5: sc 4. slp st 1 in earlier row and turn.
Row 6: *sc 3. ch 1 and turn.
Row 7: sc 3. slp st 1 in earlier row. Bind off, leaving long tail to sew to body.

* When doing a single crochet after a slip stitch, do not do the single crochet in the slip stitch. Instead, skip over the slip stitch and do it in the next single crochet (see video).

Angel's Arm
Make two using spiral crochet. Begin with flesh color:
Rnd 1: 4 sc in magic ring (4 sts).
Rnd 2: [2 sc in next st, sc 1] two times (6 sts).
Rnd 3: sc around (6 sts).
Color change to white:
Rnd 4: sc around (6 sts).
Rnd 5: [2 sc in next st, sc 1] three times (9 sts).
Rnd 6: sc around (9 sts).
Rnd 7: sc around (9 sts).
Rnd 8: sc around (9 sts).
Rnd 9: sc around (9 sts).
Rnd 10: sc around (9 sts).
Bind off, leaving tail to use to sew arm to body. If desired, used gold embroidery floss to decorate the sleeves. Stuff arm.

Angel's Head and Body
Using spiral crochet. Beginning with flesh color:
Rnd 1: 6 sc in magic ring (6 sts).
Rnd 2: 2 sc in each st around (12 sts).
Rnd 3: [2 sc in next st, sc 1] six times (18 sts).
Rnd 4: [2 sc in next st, sc 2] six times (24 sts).
Rnd 5: [2 sc in next st, sc 3] six times (30 sts).
Rnd 6: sc around (30 sts).
Rnd 7: sc around (30 sts).
Rnd 8: [sc2tog, sc 3] six times (24 sts).
Rnd 9: [sc2tog, sc 2] six times (18 sts).
Rnd 10: [sc2tog, sc 1] six times (12 sts).
Color change to white:
Rnd 11: sc around (12 sts).
Rnd 12: [2 sc in next st, sc 3] three times (15 sts).
Rnd 13: [2 sc in next st, sc 4] three times (18 sts).
Rnd 14: [2 sc in next st, sc 5] three times (21 sts).
Rnd 15: [2 sc in next st, sc 6] three times (24 sts).
Rnd 16: [2 sc in next st, sc 7] three times (27 sts).
Rnd 17: [2 sc in next st, sc 8] three times (30 sts).
Rnd 18: [2 sc in next st, sc 9] three times (33 sts).
Rnd 19: sc around (33 sts).
Rnd 20: [2 sc in next st, sc 10] three times (36 sts).
Rnd 21: sc around (36 sts).
Rnd 22: sc around (36 sts).
Stuff the head. Sew the wig to the head (see Step 6 here). Sew arms to body underneath head. Sew wings behind arms. Stuff the upper part of body (stuffing it partially now is easier than trying to stuff the whole thing as you are closing it up).
Rnd 23: [sc2tog, sc 4] six times (30 sts).
Rnd 24: [sc2tog, sc 3] six times (24 sts).
Rnd 25: [sc2tog, sc 2] six times (18 sts).
Rnd 26: [sc2tog, sc 1] six times (12 sts).
Stuff the rest of the body. Add plastic bean bag pellets if desired.
Rnd 27: [sc2tog] six times (6 sts).
Bind off, closing hole and weaving in tail.

Halo
Step 1 if you do not have wired gold cord: cut a 9 inch length of regular gold cord and a 11 inch length of floral wire. Run the floral wire through the middle of the gold cord until one inch of the wire is exposed on either end of the cord. Go to Step 2.
Step 1 if you do have wired gold cord: Cut an 11 inch length. Remove an inch of the cord from each end, leaving the wire exposed.
Step 2: If needed, use glue or Fray Check to keep the raw ends of the cord from unraveling.
Step 3: Holding the ends together, twist about two inches away from the ends to create a circle. Twist all the way down to the wire ends.

Final Construction
Trim and style hair. Place halo on head by sticking the bare ends of the wire into the head. If desired, sew the angel's hands together in prayer. Pair with Joseph, Mary and baby Jesus and enjoy your nativity!

Monday, January 16, 2012

Doll: Maurice Moss from The IT Crowd

Photobucket
Moss from The IT Crowd
(Update 2/9/12: I've made Jen and Roy dolls too!)

I have to admit that I didn't like the British sitcom, The IT Crowd, the first time I watched it. Actually, I didn't like it the second time either. It took three tries for me to get in to it, but once I did I was in love.

Photobucket
Photobucket

Moss, a geek who still lives with his mom, is my favorite character from the show. He's naive, sweet and not at all embarrassed by his geekiness. This is one of my favorite scenes from the show:


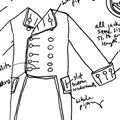
To make the doll, I drew a picture of what I wanted (below) and then just winged it. There wasn't really a pattern beyond that. If I could do it again, I'd make his pants a bit higher-waisted but other than that I am very happy with it.

Photobucket

The only real change I made from the pattern was his shoes - I tried to follow the pattern in the photo above but it just didn't look right. Here's what I came up with instead:


Photobucket

To make the shoe I sewed the two edges marked "sew" together, turned it inside out and then sewed the sole to the bottom.

If you'd like to make your own doll, here's a blank body you can use as a starting point:

Photobucket

I'd like to make dolls of Roy, Jen and Douglas from the show too. We'll have to see if I get around to it.

Friday, January 06, 2012

Update: Free Pattern for Anatomy Doll


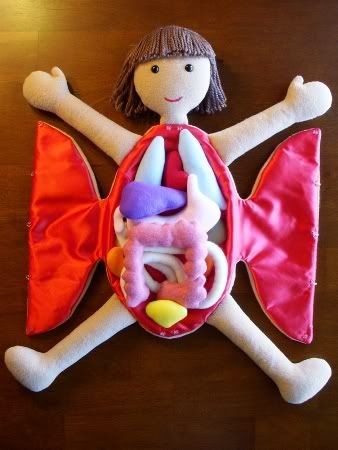
I've put together a free pattern for the anatomy doll I made a few years ago. You can find the link to the PDF at the top of the original Anatomy Doll post.

Tuesday, December 06, 2011

Free Christmas Craft Instructions 2011

I thought I'd do a quick post reviewing the Christmas craft instructions and patterns from The Crafty Cattery. If you're looking for gifts to make for yourself or someone else, consider these!
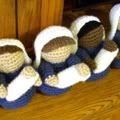
Amigurumi Nativity Crochet Pattern. So far it's just Mary and baby Jesus and Joseph but I plan to release a new pattern each year for another figure in the Nativity.

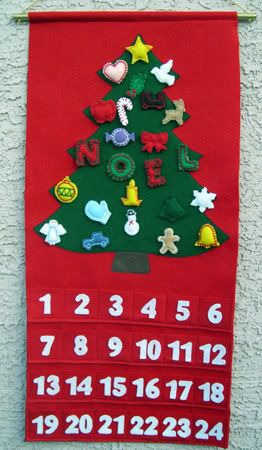
Felt Advent Calendar. Includes instructions for making the calendar and ornaments. No patterns for the ornaments, unfortunately. You're on your own with those!

Christmas Card Holder. Instructions for making a very simple string and clothespin card holder.

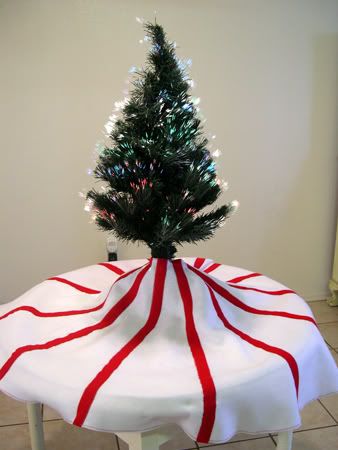
Peppermint Felt Tree Skirt. Instructions for making a simple tree skirt.

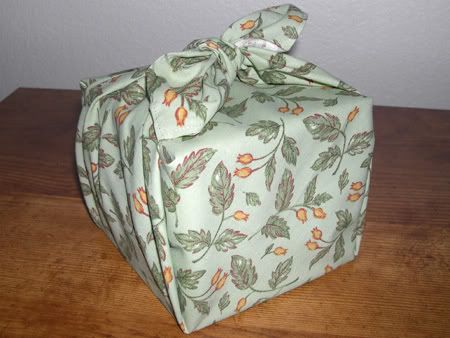
Instructions for furoshiki, the Japanese art of wrapping gifts in cloth. Great for reducing wrapping paper waste.

Not really Christmas themed but these still make good gifts:

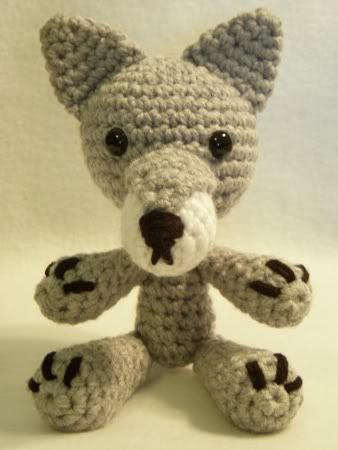
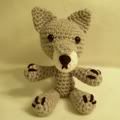
Big Bad Wolf Amigurumi Pattern. Crochet a little friend for the wolf lover in your life!

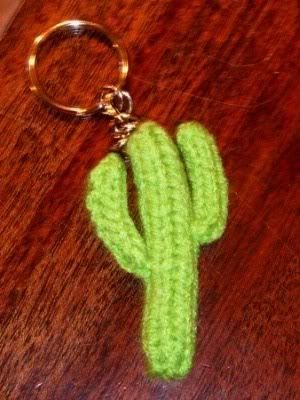
For, um... that person who always wanted a knitted saguaro cactus keychain?

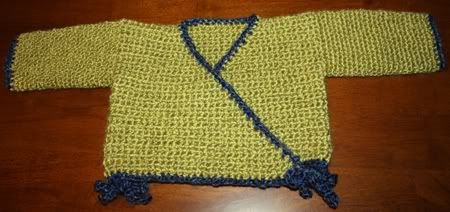
 Instructions for a crocheted kimono-style baby sweater.
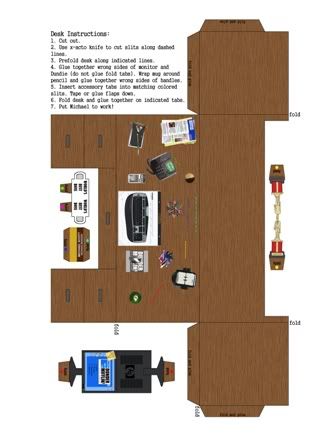
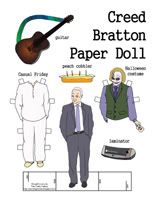
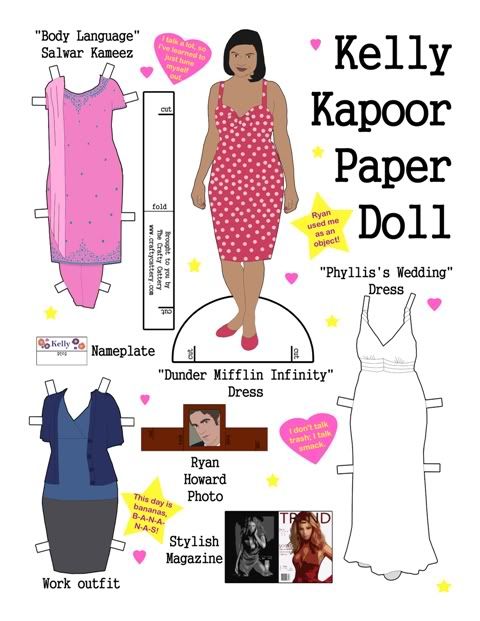
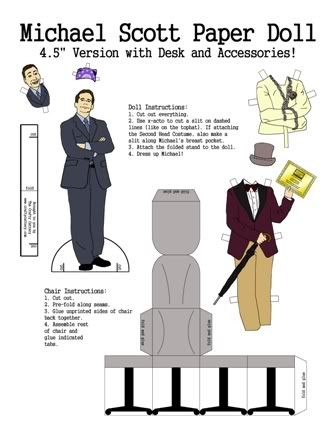
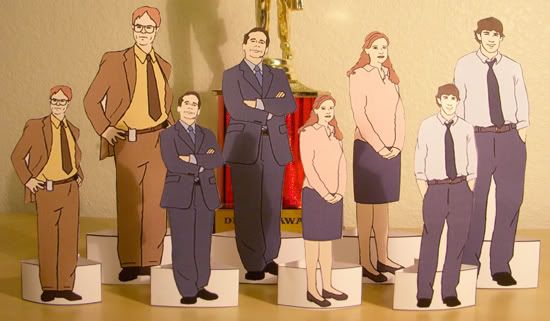
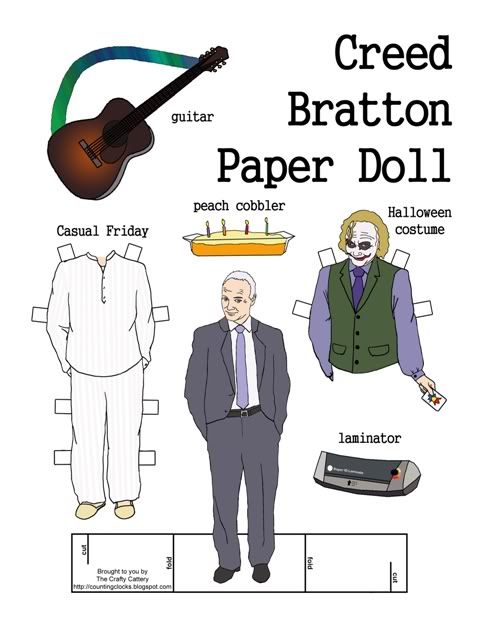
Printable Office paper dolls. Free PDF paper dolls of Michael Scott with desk, Dwight, Pam, Jim, Kelly and Creed. Make great stocking stuffers!

Tuesday, November 29, 2011

My Five-Year Craft Blogging Anniversary

My first craft post
With all the craziness of NaNoWriMo this month, I missed my five-year craft blogging anniversary on November 14th. I will have to go buy myself something made of wood (the 5th anniversary gift) to celebrate!

I counted it up and discovered that I have made 128 posts over those five years. It doesn't seem like much, but I never set out to be a high-capacity blogger. My goal with The Crafty Cattery has been to make every post useful (or at the very least, interesting) and I think I've accomplished that goal.

If you're curious, my first post was instructions for carving a pumpkin using a real photo, which I did with Jack Sparrow from Pirates of the Caribbean (as you can see in the photo above).

Friday, November 18, 2011

Arrested Development, Parks and Recreation Paper Dolls by Kyle Hilton

Photobucket
Who would win in a fight: Gob Bluth or Ron Swanson? (Ron, obviously!)
I thought I'd take a break from NaNoWriMo to let others like me, who enjoy paper dolls based on TV shows, about Kyle Hilton. Kyle has made several dozen free printable paper dolls from shows such as Arrested Development and Parks and Recreation. I also noticed that he has The Office paper dolls listed as "coming soon." He's an amazing artist so I can't wait to see them!

And, on a not unrelated note, if you haven't seen my Office paper dolls yet, here they are all in one place:


Saturday, November 05, 2011

National Novel Writing Month


Photobucket

 It's National Novel Writing Month again, which means I won't be doing much crafting (though I do have a mystery crochet project I'll share some work-in-progress photos of soon!). You can follow my progress on my other blog, CatCarlisle.com.

One of the most fun time-wasting (but also crafty!) parts of writing is coming up with titles and mock covers - you can see this year's attempt above. Based just on the title and cover, what do you think my story is about? Post your guesses in the comments. I'm curious to see what you all think!

Tuesday, November 01, 2011

Shrek Puss In Boots Costume

Photobucket

My only opportunity for dressing up this Halloween was at a friends "Trunk or Treat" event (that's where you trick or treat out of the trunk of your car). She and her husband were going as Shrek and Fiona so I decided to throw together a Puss in Boots costume. It only took me an afternoon and I think it could be easily adapted to put together a costume for a child. Here's what I did:

Hat - Purchased from a costume store. I sewed one side up and stuck in a yellow feather (you can't really see it in this picture). I also sewed on felt cat ears, though in the cartoon you don't actually see Puss' ears when he's wearing his hat.

Shirt - I got a cheap orange sweatshirt and used iron on adhesive to attach a yellow fleece patch to the chest and yellow stripes to the arms. It probably won't hold up to machine washing, but I only needed it to last for a night. The black cape was borrowed from an old costume belonging to my friend's child.

Gloves - I sewed peach "paw pads" on to some fuzzy white gloves. In the movies Puss often wears over-sized black leather gloves so those could be substituted.

Belt and Tail - The belt was my husband's, the sword was purchased from a costume store. To make the tail, I cut a long strip of the yellow fleece I used for the stripes on the shirt and used iron on adhesive to attach stripes of brown felt. I folded the fleece so the stripes were on the inside and sewed it shut, leaving one of the short ends open and rounding the other. I trimmed the edges, turned it right side out, stuffed it then sewed it to the belt.

Pants and Boots - The pants are khakis and the boots are left over from my Jack Aubrey costume.

Thursday, September 29, 2011

My Texas Saguaro: Two Years Later

(This was supposed to be posted here two days ago but somehow I managed to post it on my writing blog instead. Oops! Apparently I'm not too good at juggling two blogs.)

I went back to Texas for another visit a few weeks ago and got a chance to check up on the saguaro in my parent's backyard. My how it's grown!

Here's how tall it was in 2009:
Photobucket
Quite a few inches short of the fence line
In 2010:
Photobucket
At the fence line
In 2011:
Photobucket
Above the fence line
Looks to me like it's grown at least a foot, maybe even a foot and a half. I guess the weather in Texas is agreeing with it!

Thursday, September 08, 2011

Simplicity Reissues Titantic Dress Pattern

Photobucket

I was cruising Simplicity's costume patterns today and squealed like a little girl when I saw this pattern. Simplicity 8399, Misses Titanic Inspired Costume, was originally released after the Titanic movie came out in the late 1990s. I remember wanting to make the red dress for prom but at that point it was way beyond my skill level. The pattern went out of print so by the time I got back in to costuming, it was no longer available.

I wasn't going to let the opportunity to get this pattern pass me by again, so I bought it immediately. It would be great to make it for Halloween this year though I'm not sure I'll have the time. Even if I don't, I'll still have the pattern for when I do find the time!

According to Simplicity.com, this pattern is only available on their website, so don't go to the fabric store and expect to find it. It's being reissued for the "100th anniversary of the Titanic." So the anniversary of its sinking, I guess? A bit morbid but I'm not complaining!

Related Posts with Thumbnails