
Project Name: Diagonally Knit Pillow Covers
Time Taken to Finish: 2 weeks
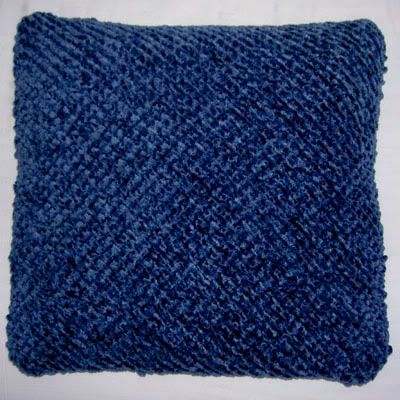
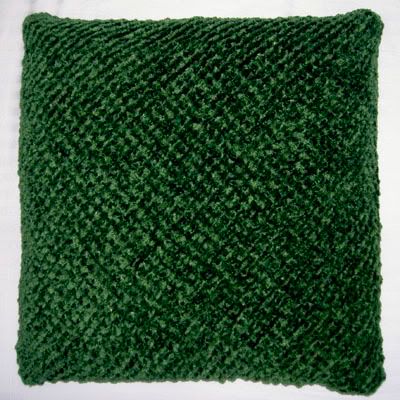
Type of Yarn Used: Lion Brand Chenille Thick and Quick in Periwinkle and Basil
Amount of Yarn Used: 6 skeins, 3 of each color
Needles Used: US size 11 needles
What I Liked About the Project: Easy garter stitch knitting. Since it was knit diagonally, I didn't have to worry about calculating how many stitches to cast on.
What I Didn't Like About the Project: They took way longer to knit than I had originally thought.
Here's what I did to knit them:
Cast on 3 stitches. Knit them (row 1).
Row 2 - Increase first stitch, knit second stitch, increase last stitch.
Row 3 - Knit back across without increasing.
Row 4 - Increase first stitch, knit middle stitches, increase last stitch.
Row 5 - Knit back across without increasing.
Rows 6 and onward - For even rows: increase the first stitch, knit the middle stitches, and increase the last stitch. For odd rows: knit across without increasing. Continue knitting until the triangle created is wide enough to cover half the pillow (make sure there is a little extra for a seam).
When the knitting is the correct size, note the number of stitches on the needle (I had 59 stitches). Now, begin decreasing the first and last stitches on the even rows. Continue knitting all stitches on the odd rows.
Knit until there are only 3 stitches left on the needle. Bind off these stitches.
The knitting will now be a square big enough to cover one side of the pillow. Repeat the above instructions to create a second square (be sure to increase to the same number of stitches noted in the first square). When finished, stitch the sides together and insert a pillow form.


