
I was very excited to discover that quail have built a nest in the middle of a cactus in our yard!

They chose a good spot! It would be impossible for a cat or dog to get through cactus that encircles the nest. It took me a long time to get a good photo of the nest because the mother quail is usually sitting on the eggs and all you can see is a few feathers. I can't wait to see the chicks; hopefully she'll take good care of them and keep them out of the street!
I've been on the hunt for chiltepin plants (aka chili tepin). It's a chile plant that has tiny little peppers that are super-hot and can grow year-round in the right conditions. My parents have had one in their backyard for years and I thought it would be nice to have my own. I especially like that it can survive during the winter since I'm not too keen on having to re-plant vegetables every year!

The chiltepin plant is very similar to the chili pequin so initally I wasn't sure which one this was. The only difference I can see between the two is that the chiltepin peppers are round while the chili pequin peppers are elongated. Since the peppers on my parents' plant are round, I'm assuming that it's a chiltepin.
I stole a few peppers from my parents' plant a year ago and, after drying them out, spent a week attempting to sprout the seeds from one pepper but had no luck. I then tried to find the plant at a local nursery but no success there either. Finally I sat down, did some research and discovered that the seeds can take up to 12 weeks to sprout! I decided to try again since I hadn't given them enough time during my first sprouting attempt.
On April 30th I cut open one of the peppers and soaked the seeds in water overnight. On May 1st I put all the seeds (there were more than 30!) between two damp paper towels in a plastic container. I sprayed the paper towels daily with water to keep them moist. Nothing happened until May 20th - I got home from a short vacation and found that several of the seeds had sprouted!
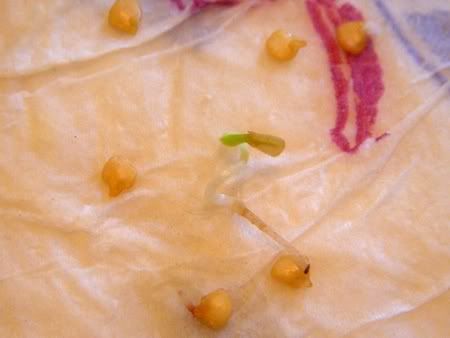
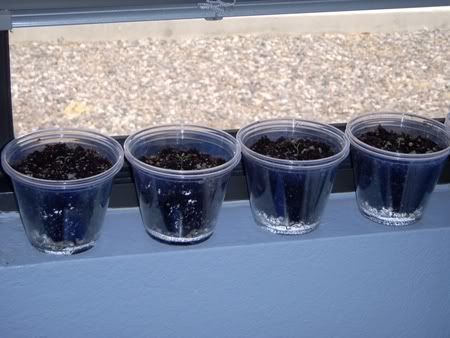
Once the seedlings were free of the seeds, I planted them in plastic cups. I used two cups for each seedling, one inner cup with holes punched in the bottom and an outer cup to catch any drained water. I put a thin layer of pebbles at the bottom of the cup and filled the rest with a 4 to 1 mixture of potting soil and perlite.
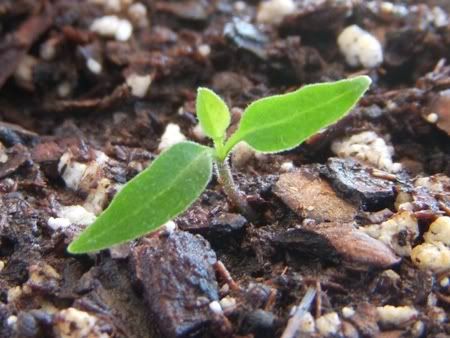
I've been planting 2-3 seedlings a day since May 20th and I now have 17! They seem to be pretty slow growers so I'm guessing they won't be big enough to have peppers until next year. Here are some photos I took of one of the first plants to show its progress:
May 20th:

May 21st:
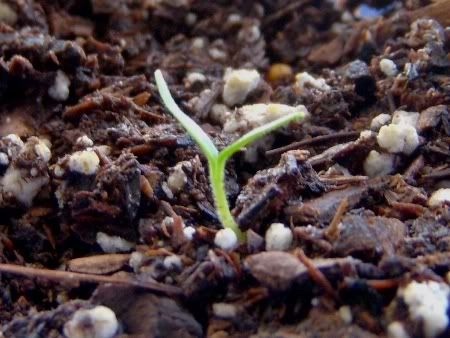
May 23rd:
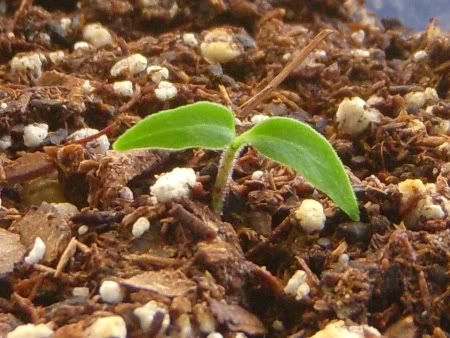
May 29th:
You can see more "growth" photos of my chiltepin plants here: Chiltepin Plants Update


 Blog Post: Severus Snape Pumpkin Carving

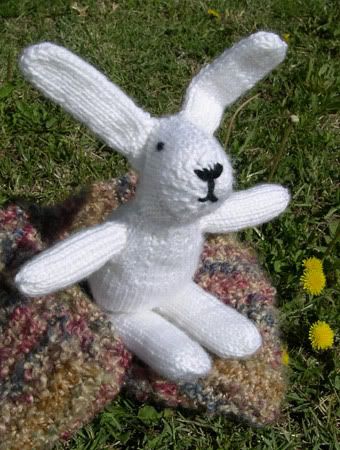 Blog Post: Knitted Bunny


