My chiltepin plants are doing surprisingly well! Out of the 32 I planted so far I've only lost one. Now some of them are outgrowing their tiny potting cups so I'm starting to replant them into large containers. Pots are expensive! I went to every garden center I could find to try to buy large containers that were less than $1 a piece but no luck. I was hoping someone would sell the cheap plastic pots that the nurseries use but I couldn't find them anywhere. I ended up having to order them online from GreenhouseMegaStore.com - they had a bundle of thirty 2.5 gallon containers for $17. Plus $15 shipping that ended up being $32, a little more than $1 a piece.
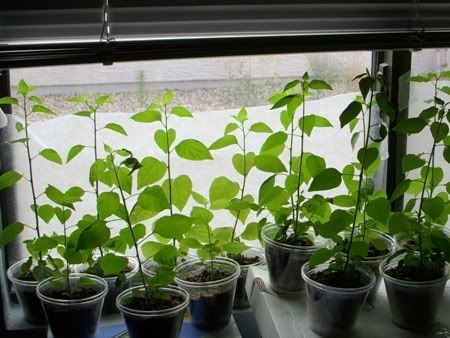
So far I've replanted eleven of the chili tepin plants in the 2.5 gallon containers today. Right now they're sitting inside my patio door - hopefully they'll get enough sun there. They probably would get more sun outside, but it's the monsoon season here in Arizona. So in addition to surviving the desert heat the plants would also have to make it through the strong winds and heavy rain of the monsoon storms. I think I'll try to keep them inside as long as I can so they can grow big and strong!
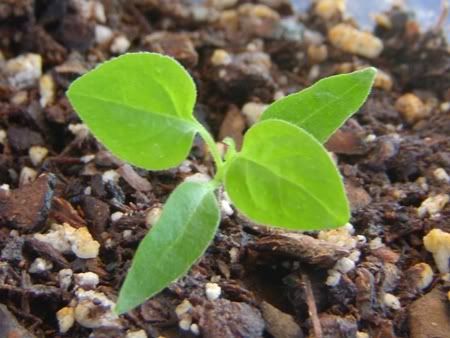
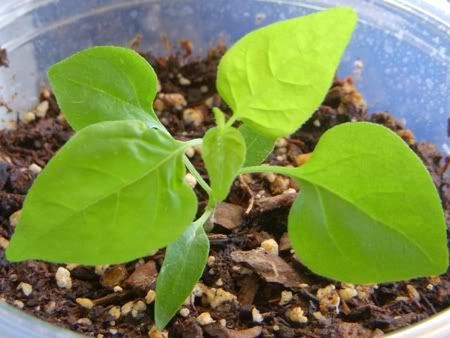
Here are some photos I took about once a week of one of the chiltepin plants to track it's growth:
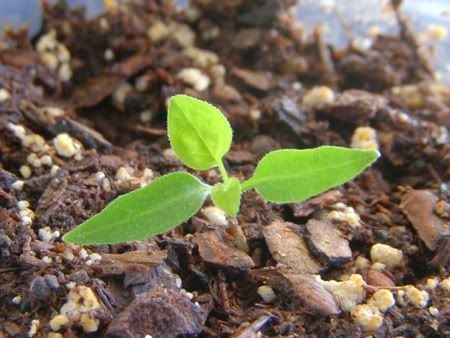
May 31st
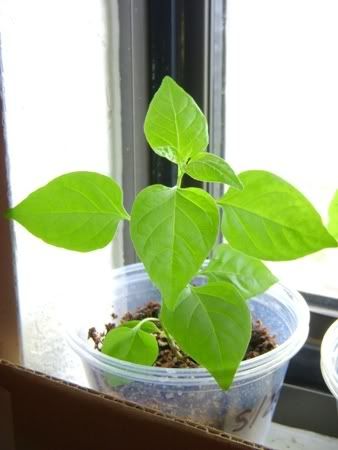
June 3rd
June 11th
June 21st
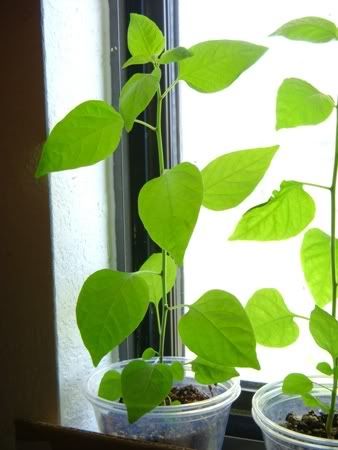
June 30th
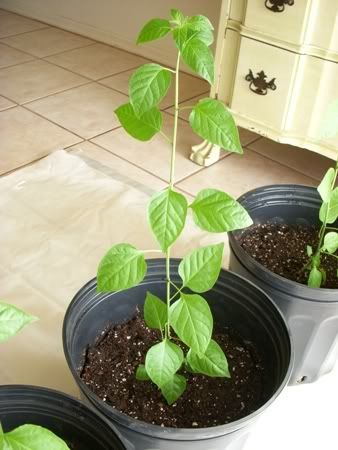
July 9th (in the new big pot!)
Update 1/15/09: Unfortunately I had to leave my chiltepin plants outside while I was gone for two weeks over Christmas. We had several hard freezes (and one snow!) while I was away and since I wasn't able to cover them up, they didn't make it. I'm still watering them, hoping maybe they can be revived but it's probably a lost cause. :( I'll just have to start over once it gets warm.