
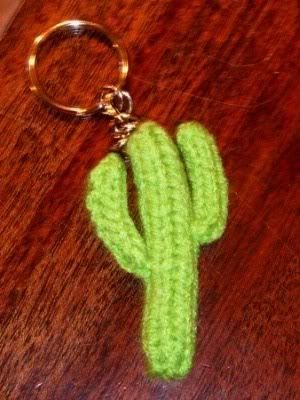
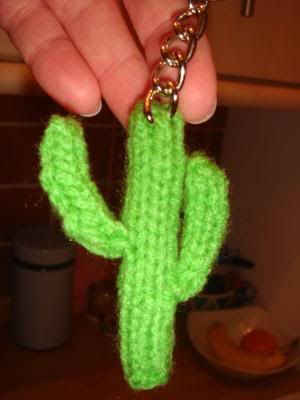
I knitted up these saguaro cactus keychains to give out at a geocaching event held in my honor during a visit to London in May. They were a big hit and so was the event - I didn't make nearly enough for everyone! This very simple pattern can be found below.
Knitted Saguaro Cactus Pattern
Note: My patterns are free and may not be sold. Please do not reproduce or repost patterns or instructions from CraftyCattery.com without my permission. For information on selling items created from my patterns, please view the FAQ.
Yarn: Medium weight, green (You can use any size yarn, just make sure to adjust your needles accordingly. I used very small needles because I didn't want any stuffing to show between the stitches.)
Needles: US size 3 double-pointed needles
All pieces are knit in the round. All stitches are knit stitches.
Body of the cactus:
Cast on 3 stitches and divide them evenly between your double-pointed needles (3 stitches).
Round 1: Increase each stitch 2 times (6 stitches).
Rounds 2-21: Knit all stitches for 20 rounds, stuffing as you go (6 stitches).
Don't cast off. Instead, run the tail of the yarn through the remaining stitches and tie off. Weave in tail.
Arms of the cactus (make 2):
Cast on 4 stitches. I found it easiest to use only two double-pointed needles, with two stitches on each needle (4 stitches).
Rounds 1-7: Knit all stitches for 7 rounds (4 stitches).
Rounds 8: Knit 2 stitches together twice (2 stitches).
Don't cast off. Instead, run the tail of the yarn through the remaining stitches and tie off. Do NOT weave in tail.
Construction:
Using the yarn tail left on the arms, sew them to the body of the cactus. Tie securely and weave in tails. Attach keychain if desired.


3 comments:
Oh Cathy, they are darling.
Marion just finished crocheting a pretty set which includes a purse, hat and scarf. Perhaps, she will teach me one day:)
Thanks for sharing...Happy weekend to you!!!
I'm kind of curious, why aren't you using the i cord method for these?
My concern with i cord for this project is that the main body has six stitches after you increase. I cord works best with three or four stitches and when you add more, you can end up with a gap in the stitches when you go from one end of the needle to the other. If that gap doesn't close all the way, it won't look as good when finished and the stuffing might show.
Also, since there are increases you'd have to do some work to figure out the correct way to them in an i cord. I think for an increase you'd have to knit in the front and back instead, but I'm not sure.
With all that, it was just easier for me to do it the traditional way. But you could give it a try using the i cord mention and see what happens. If there's not a gap in the main body, then it would work and might be easier than doing it the traditional way. If you try it, let me know what happens. If it works I can add i cord instructions to the pattern.
Post a Comment